Optimizely Configured Commerce GraphQL Wrapper
written by Shahira Bhanu Sheik
|May 2023

Optimizely Configured Commerce is an API-first headless ecommerce platform. The implementation of the Optimizely Configured Commerce platform API is based on the REST protocol.
While REST is a mature protocol with many useful features such as caching, versioning and support of multiple formats, there are also some disadvantages of using REST. It is not possible to query data using REST because it is server driven. If you want to combine data from multiple resources, you must use multiple REST endpoints and that means multiple round trips to the server.
GraphQL is a client-driven query language over HTTP protocol. The client application can combine data from multiple resources and can ask for only the data it needs. That means no round trip to the server and a much smaller payload size. This makes GraphQL an appropriate protocol for omnichannel applications where the client has the freedom to choose API responses based on devices.
In this blog post, I’m going to explore the idea of creating a GraphQL wrapper using the Optimizely Configured Commerce API. I have implemented the GraphQL API using Hot Chocolate GraphQL Server on the Optimizely Configured Commerce platform and deployed it in the Heroku platform where data can be queried using the GraphQL IDE.
Application Setup
For implementation I used Visual studio 2019 and .NET 5. Create an empty ASP.NET Core Server project. I am using the HotChocolate.AspNet package to implement the GraphQL server. I have implemented the GraphQL endpoints for resources such as product and categories but the same can be done for other resources following the same approach.
Essential GraphQL Concepts
The following are some essential GraphQL concepts we need to understand to implement GraphQL APIs.
Schema
A schema is collection of the types and relationships between the types. It is used by the GraphQL server to define the shape of available data. I have created a file for each individual resource, which has the information of the fields. Here is the example of product resource:
public class Product
{
	public virtual DateTimeOffset ActivateOn { get; set; }

	public virtual bool AllowAnyGiftCardAmount { get; set; }

	public virtual decimal BasicListPrice { get; set; }

	public virtual DateTimeOffset? BasicSaleEndDate { get; set; }

	public virtual decimal BasicSalePrice { get; set; }

	public virtual DateTimeOffset? BasicSaleStartDate { get; set; }

	/// <summary>Gets or sets the category products.</summary>
	[SuppressMessage("Microsoft.Usage", "CA2227:CollectionPropertiesShouldBeReadOnly")]
	///  public virtual ICollection<Category> Categories { get; set; } = new HashSet<Category>();
	/// <summary>Gets or sets the configuration id.</summary>
	public virtual Guid? ConfigurationObjectId { get; set; }

	/// <summary>Gets or sets the configuration object/entity.</summary>

	public virtual Guid? ContentManagerId { get; set; }
}
Resolver
A resolver is the function that resolves the value of the types or fields in the schema. When a client queries for a particular field then the resolver is responsible for requesting data for that field. It is responsible for populating the data from the data source.
Query
A query is top level entry point for clients to access and execute the queries against the server. The queries for different resources are implemented in these class client applications and can fetch data using the GraphQL queries. In the query class, I have added the Product, Product Collection, and Category Collection methods from which data can be accessed from the backend.
Here is the example to return the product resource by its id:
public ProductModel Product(Guid id)
{
	var baseUrl = _configuration["BaseApplicationUrl"];
	var uri = baseUrl + "api/v1/products/" + id;
	string response = GetTask(new Uri(uri)).Result;
	var responseJson = JObject.Parse(response);
	return responseJson.ToObject<ProductModel>();
}
To make the Query available we need to add GraphQL Server to the services collection with Query type in Startup.cs.
public void ConfigureServices(IServiceCollection services)
{
	services.AddGraphQLServer().AddQueryType<Query>();
}
Run the Application in Local
The complete code is available here. You can clone the project and run in your local environment. You have to add your own Optimizely B2B URL for BaseApplicationUrl in appsettings.json. To build the application, open the command prompt and go to the project location. To start the server use the following command: Dotnet run –project ./GraphQL
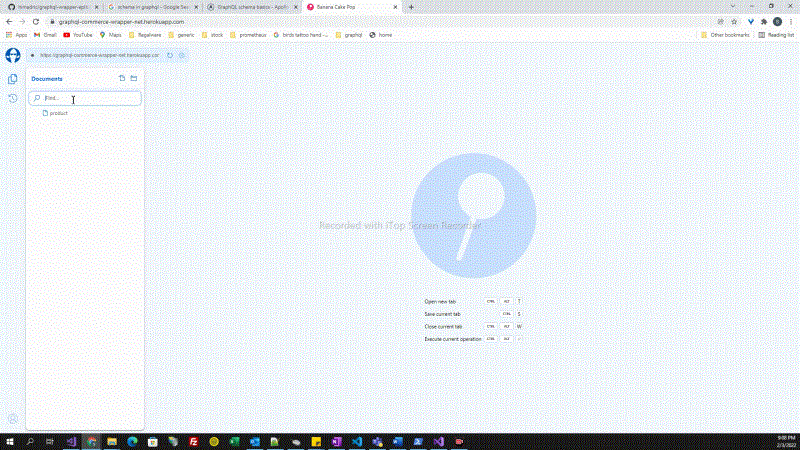
Open the browser and go to http://localhost.com:5000/. I used the GraphQL IDE Banana Cake Pop to write the GraphQL queries. This IDE has the information of the queries available to access and schema structure defined. Below is quick demo.
Deploy to Heroku
To make the solution available for everyone it can be deployed to Heroku. We will use Docker to deploy the application in the Heroku platform. Here are the steps to add our application in Docker.
- Install the Docker in your local system
- To include the Docker file in the project, right-click on the project and add Docker support. Then add the Docker file like below.
FROM mcr.microsoft.com/dotnet/aspnet:5.0 AS base
WORKDIR /app
EXPOSE 80
EXPOSE 443
FROM mcr.microsoft.com/dotnet/sdk:5.0 AS build
WORKDIR /src
COPY ["GraphQL.csproj", "./"]
RUN dotnet restore "GraphQL.csproj"
COPY. .
WORKDIR "/src/"
RUN dotnet build "GraphQL.csproj" -c Release -o /app/build
FROM build AS publish
RUN dotnet publish "GraphQL.csproj" -c Release -o /app/publish
FROM base AS final
WORKDIR /app
COPY --from= publish / app / publish.
CMD["dotnet", "GraphQL.dll"]
- Setup your Heroku account: https://signup.heroku.com/
- Install the Heroku Command CLI: https://devcenter.heroku.com/articles/heroku-cli
- Create a new app in Heroku from your dashboard
- Choose the deployment method as container Registry
- Login to the Heroku container registry using the command line
- heroku container:login
- Make sure to build the Docker container with the same name as your app name
- docker build -t grap graphql-commerce-wrapper-net
- Push the newly built container
- heroku container:push -a graphql-commerce-wrapper-net web
- To release the app
- heroku container:release -a graphql-commerce-wrapper-net web
You can try running some queries using my deployed application in Heroku https://graphql-commerce-wrapper-net.herokuapp.com/.
Below is an example query:
query{
  productCollection (page:1, pagesize:10) {
    products {
      erpNumber,
      shortDescription,
      basicListPrice
    }
  }
}
You can access the code in the GitHub repository: https://github.com/shahira05/graphql-b2b-commerce-wrapper-.net
Conclusion
With the GraphQL wrapper created on top of Optimizely Configured Commerce, we can use all the features that come with GraphQL. Until Optimizely comes with their own GraphQL server for Configured Commerce, the wrapper is an effective option to provide endpoints for omnichannel applications.